BeOS 5 Professional post-installation setup.
In my tutorial Installing BeOS 5 Professional Edition, I explain how to proceed to install the BeOS operating system (on a VMware virtual machine). This tutorial shows some common tasks, that you should perform after the OS has been installed. To note, that on my VM, the floppy drive does not work (I get an error message when I try to mount it), thus you'll have to use a CDROM (aka to create a CD image file) to transfer the files to be installed onto the BeOS computer.
1. Keyboard layout.
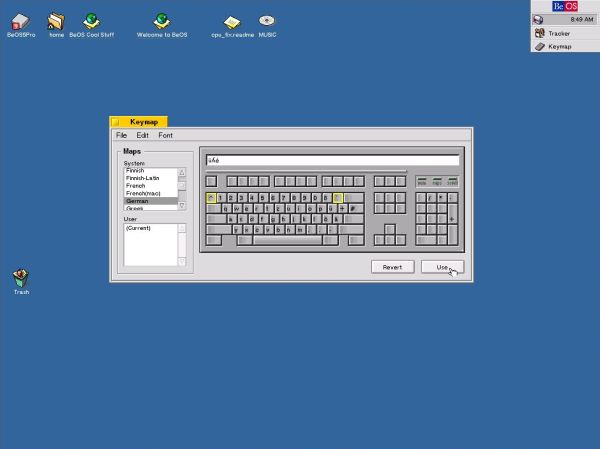
BeOS 5 installs with the US keyboard layout without giving the user the opportunity to change the layout during the installation. Setting up another layout can be done after installation of the OS by opening Preferences > Keymap and then choosing among the layouts available (German keyboard in my case). Push the Use button to make the new layout become active.
|
2. Screen resolution.
BeOS 5 can be run at screen resolutions that are lots higher than the 640×480 pixels available after installation of the OS; also is it possible to use color instead of the gray-shaded GUI. Concerning setup of a 1024×768 pixels, 16k colors display, please have a look at my Installing BeOS 5 Professional Edition tutorial.
3. Sound and audio playback.
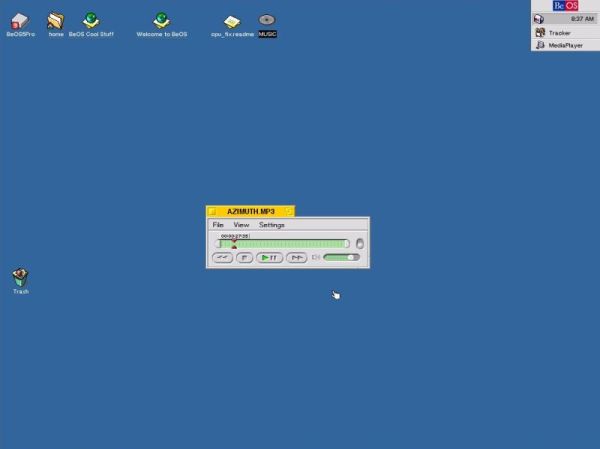
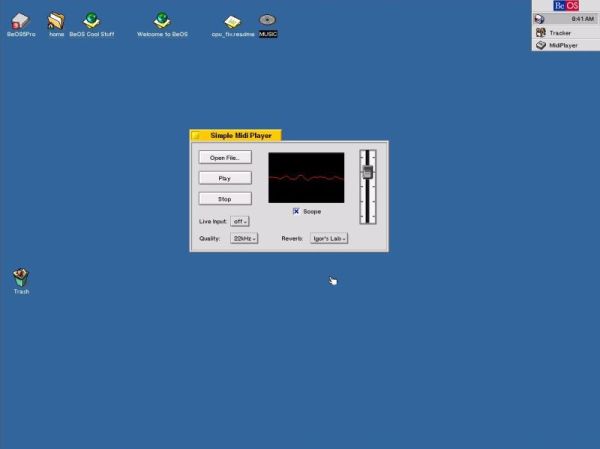
The Sound Blaster 16, emulated by VMware, is recognized by default by BeOS, thus the machine has sound without that you have to do whatever configuration. To note however, that sound quality is rather mean. Cracking noise during the entire playback time, sometimes playback "hanging" (one or several seconds without sound).
The default player for MP3 is MediaPlayer (screenshot on the left), the default player for MIDI is MidiPlayer (screenshot on the right). As said, playback is not the best quality...
|
|
4. Timezone and date/time.
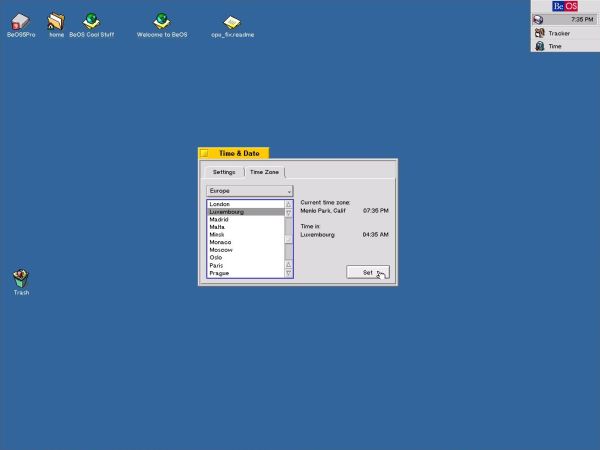
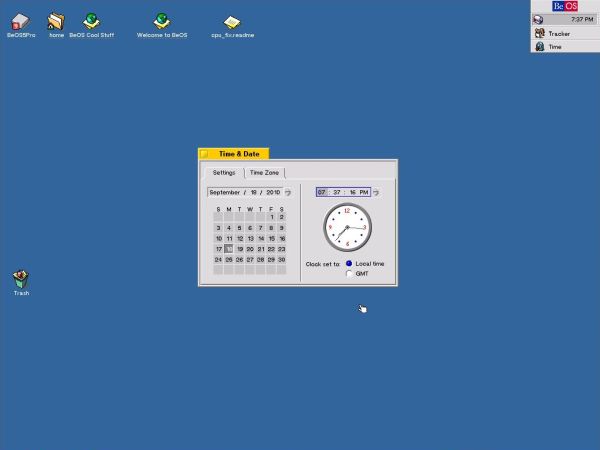
Open Preferences > Time. On the Timezone tab (screenshot on the left), choose your continent in the combo box and then your country/region among those available (Europe/Luxembourg in my case). After you have changed the timezone, you'll have to re-set date and time. On the Time & Date tab (screenshot on the right), change the date if necessary and enter the actual time. If you enter the actual time at your location, be sure to select the Local time checkbox.
|
|
5. Network setup.
If you run BeOS 5 on VMware, you can use the BeOS Ethernet driver for VMware PCnet/PCI virtual network controller, that you can download from the BeBytes website. There are several drivers available. I chose 0.6 Intel (BeOS 5) that works fine. Double-click vlance-0.6.pkg to start the installation.
![BeOS 5 Professional: Network - Installing the vlance driver [1] BeOS 5 Professional: Network - Installing the vlance driver [1]](../screenshots/beospro_postinstall4a.jpg)
|
![BeOS 5 Professional: Network - Installing the vlance driver [2] BeOS 5 Professional: Network - Installing the vlance driver [2]](../screenshots/beospro_postinstall4b.jpg)
|
In the Install Preview window, push the Continue button (screenshot on the left), and when the installation is terminated, click the OK button (screenshot on the right).
![BeOS 5 Professional: Network - Installing the vlance driver [3] BeOS 5 Professional: Network - Installing the vlance driver [3]](../screenshots/beospro_postinstall5a.jpg)
|
![BeOS 5 Professional: Network - Installing the vlance driver [3] BeOS 5 Professional: Network - Installing the vlance driver [3]](../screenshots/beospro_postinstall5b.jpg)
|
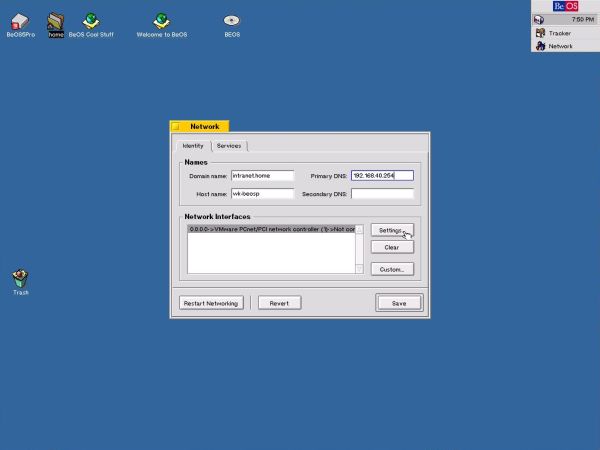
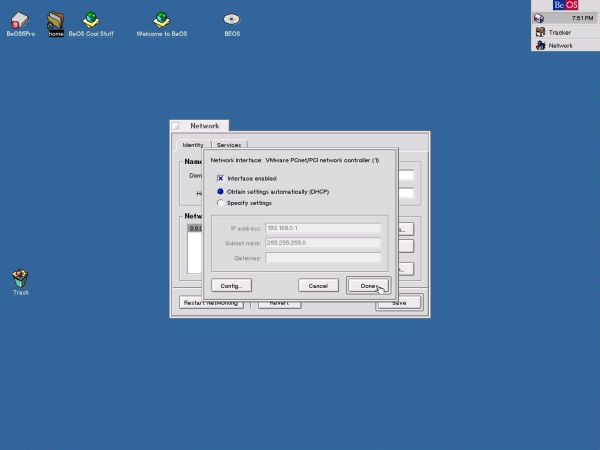
To configure the network, choose Preferences > Network. In the main Network window, the VMware PCnet/PCI network controller should be shown in the network interfaces list, and you can set the host and domain name, as well as one or two DNS servers (screenshot on the left). Pushing the Settings button, a second window opens; here you can enable/disable the interface, as well as choosing if you want to get it configured using DHCP, or entering the IP, subnet mask and gateway manually (screenshot on the right). I chose DHCP (my BeOS machine was actually connected to a VMware hostonly network, that includes an IPFire firewall-router machine that leases IP addresses to connecting computers using DHCP).
|
|
Push the Done button to return to the main window, and here push Save to make the new settings become active. You will be told that the network has to be restarted; push the Restart button to restart it now. If something goes wrong, you'll get an error message. Normally, all should be ok and you should be able to communicate with the other computers on the network.
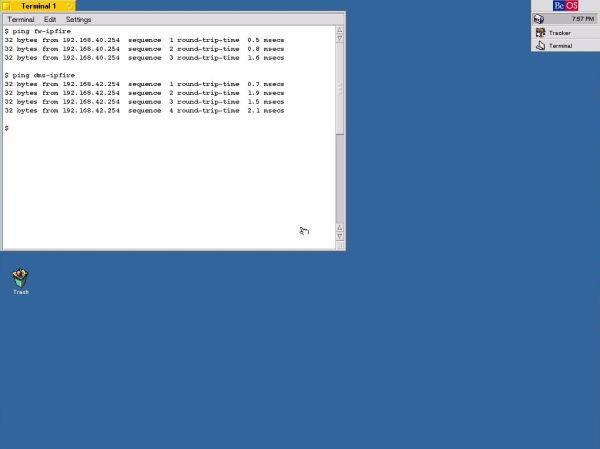
The simplest way to test a network is to ping other computers connected to the same subnet. This may be done using the other computers' IP address, or if there is a DNS server, where these computers are registered, using the computers' names. The screenshot below shows how I ping the LAN and the DMZ network interface of my IPFire firewall-router machine from BeOS.
|
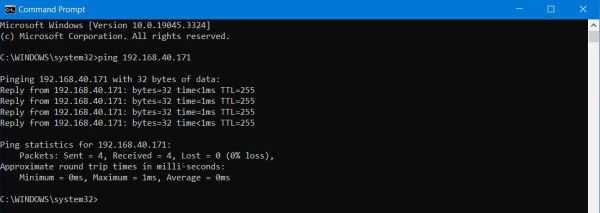
It should also be possible to ping the BeOS machine from the other network computers. As wk-beosp is not registered on my IPFire (I made it part of the 192.168.40.0/24 subnet only for testing), the IP address has to be used. Having a look at the actual temporary leases on IPFire, I saw that BeOS had been assigned the IP 192.168.40.171. That's why this IP is used in the ping command on the screenshot below, where I ping the BeOS machine from my Windows 10 laptop (actually the VMware host machine).
|
Another simple way to test network connectivity is to access a web server. If you have a local web server running, you can try with this one; if your BeOS machine is actually connected to the Internet, you can try to browse to some Internet website. The screenshots below show how I use the BeOS web browser NetPositive to access my local Apache running on Windows 10 (computer name: wk-win10). As you can see, this works rather fine, except that newer web coding techniques (like the ones used to code the navigation menu) are not understood by the BeOS browser. Also, it is not possible to use HTTPS.
![BeOS 5 Professional: Network - Accessing a local web server [1] BeOS 5 Professional: Network - Accessing a local web server [1]](../screenshots/beospro_postinstall9a.jpg)
|
![BeOS 5 Professional: Network - Accessing a local web server [2] BeOS 5 Professional: Network - Accessing a local web server [2]](../screenshots/beospro_postinstall9b.jpg)
|
6. Timing CPU fix.
One of the problems that rather commonly occurs with old operating systems running on a virtual machine is that the CPU speed of the host is too fast to be correctly handled by the guest. On BeOS 5 this results in incorrect clock timing; maybe, that there could be other issues, too. To fix the problem, we will install the BeOS 5 CPU fix, that you can download from pulkomandy.tk. I unpacked the ZIP archive on my Windows 10 (you can also do it on BeOS) and transferred it to the BeOS VM using a CDROM (creating an ISO mounted in my virtual CD drive). The ZIP content is a BeOS package (.pkg file); double-clicking it starts the wizard-based setup process. During installation, confirm that you have timing issues (screenshot on the left) and that you want to enable the CPU patch (screenshot on the right).
![BeOS 5 Professional: Applying the CPU patch [1] BeOS 5 Professional: Applying the CPU patch [1]](../screenshots/beospro_postinstall10a.jpg)
|
![BeOS 5 Professional: Applying the CPU patch [2] BeOS 5 Professional: Applying the CPU patch [2]](../screenshots/beospro_postinstall10b.jpg)
|
7. BeOS 5 Pro Update 3.
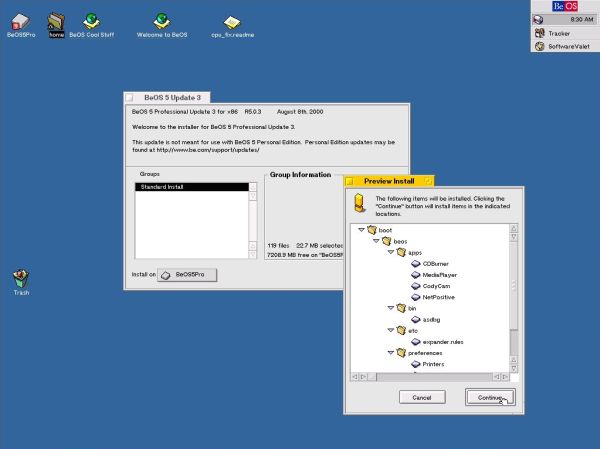
You can download the BeOS 5 Pro Update 3 patch from the pulkomandy.tk website. The archive contains one file without any extension. In fact, it is a BeOS package file and just like .pkg files, you can start the wizard-based installation by double-clicking it. Please, note that when installation is done, you'll have to reboot the computer.
|
8. BeOS 5 restart issue.
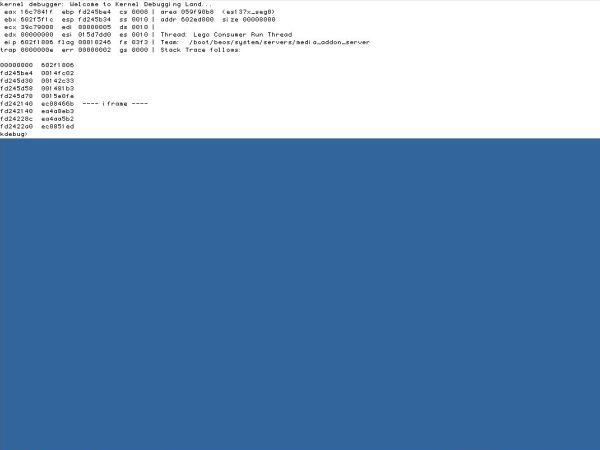
When trying to reboot my BeOS 5 Pro using the Restart command, the machine crashes with display of the debug information shown on the screenshot below. No idea, why this happens. Not to exclude that it's a major bug, also it may have other reasons, e.g. related to some VMware problems with this (not supported) operating system. Important: If this happens, power off the virtual machine! In fact, if, instead you try to restart it, it may happen that the VM hangs itself and that it will no more possible to exit VMware Player otherwise than to kill the application in Windows Task Manager. It could even come worse, the VM no more able to be started and the need to reboot the host operating system.
|
There is a simple work-around: Use Shutdown instead of using Restart, and then, when the system stops with the possibility to reboot, use the corresponding button to restart the machine.
Note: My BeOS 5 Pro also crashed when I performed a port scan on the 192.168.40.0/24 subnetwork (running Advanced IP scanner on my Windows 10 host). This seems to be related with the AQUIRE_SPINLOCK functionality...
If you find this text helpful, please, support me and this website by signing my guestbook.